Feature Flags in React
Hey Friends! Welcome to my blog. This is where tutorials, my thoughts, and maybe even some hot takes on software development will live. If you’re vibing feel free to subscribe to a news letter that I’m hoping to update regularly (like once a month, and no spam. Ever).
Feature flags are a technique that toggles functionality on and off during runtime, without deploying new code. This gives software providers better control and experimentation over their product. You may have noticed the word “deploy” and thought “Wait a minute, this is a DevOps article!”. And to that I say, Frontend devs please stay with me. I promise this is written with you in mind.

Imagine your product owner is asking for a news update pop-up on your React website, but they want the power to turn it off without causing chaos. Enter feature flags! These can be referred to as feature toggles or feature switches.
This article will focus on the logic required for your React app, therefore the toggle will live in an .env file, however toggles can also be in an api call, or even built into a fullstack application. You’ll find a basic example using the .env pattern and an advanced example that uses .NET in this repo for the post: react-feature-toggle
I’ve set up my dev environment and ran npm create vite@latest. Feel free to use any FE tooling you prefer. If you haven’t set up a dev environment before, or want to try out Vite you can follow their quick start guide here.
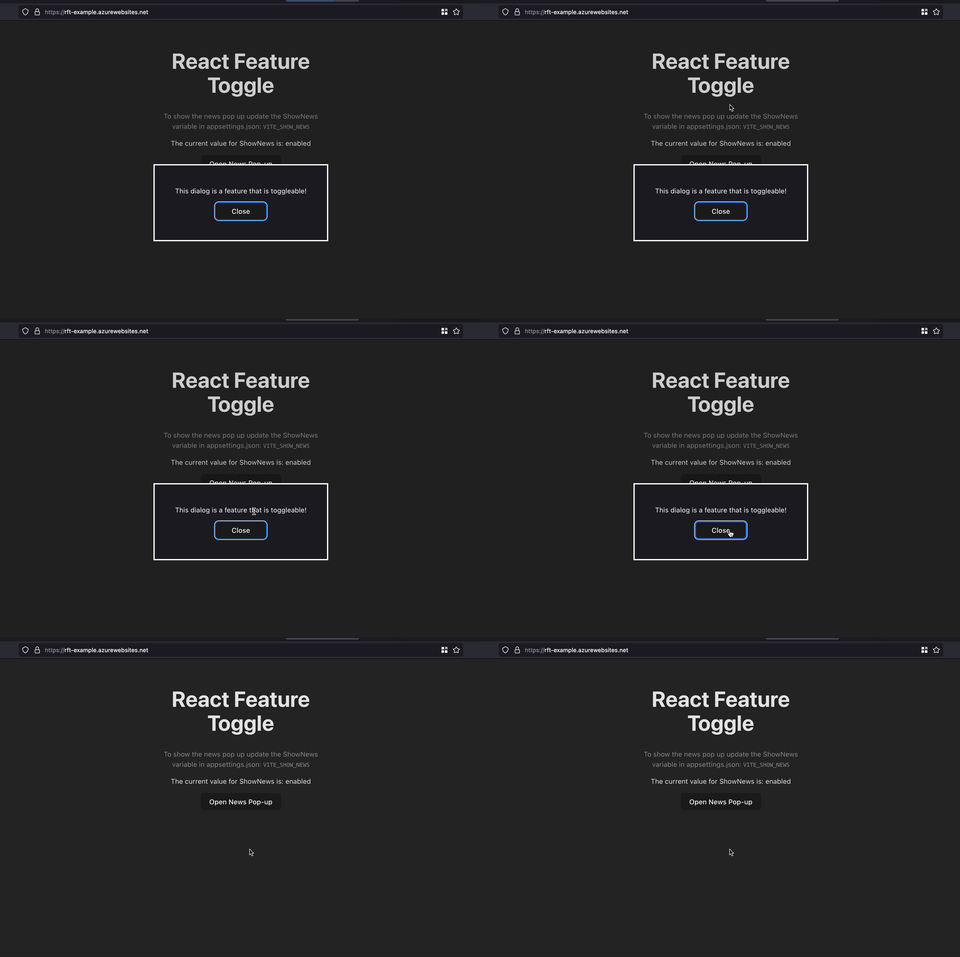
Now that I’ve set up my project I delete a lot of the boilerplate and added a Dialog component. It’s important to note, this feature could be anything you wish to toggle. Feel free to make up this feature on your own. It could be as simple as a message in p tags or complex as a widget. The choice is yours.

This Dialog will serve as our “News Update Pop-up”, I won’t go into too much detail since the code could be it’s own tutorial. It’s a modal that’s using the HTML5 element dialog, but React doesn’t support it yet so I’ve had to manually hook up it’s unique event listeners into the React lifecycle.
Okay, lets take a look at App.tsx, here we have imported the dialog component and returning it in return statement. I’ve also added a button that allows you to toggle the Dialog’s visibility.
import './App.css'
import { Dialog } from './Dialog'
import { useState } from 'react'

function App() {

const [isDialogOpen, setIsDialogOpen] = useState<boolean>(true);

function requestDialogOpen(){
	if (isDialogOpen) return
	setIsDialogOpen(true)
}

function requestDialogClose(){
	setIsDialogOpen(false)
}

function toggleDialog(){
	setIsDialogOpen(isDialogOpen => !isDialogOpen)
}

return (

    <>
      <Dialog toggleDialog={toggleDialog}
      requestDialogClose={requestDialogClose}
      requestDialogOpen={requestDialogOpen}
      isDialogOpen={isDialogOpen} />
      <h1>React Feature Toggle</h1>
      <button onClick={() => requestDialogOpen()}>Open News Pop-up</button>
    </>
)
}

export default App
Briefly on what’s happening in this code. We are leveraging useState to handle the boolean of if the Dialog component is open. We’re controlling state outside the component so that the button can affect where the dialog component is toggled.
Our goal here is to make it so that the Dialog component is only available when we want it. Otherwise it shouldn’t be there. The fastest way is to accomplish this is to create an .env file with a variable that is set at build time. When we use the command npm run build the values are fetched from the .env file and applied to where ever import.meta.env.VITE_<variable_name> is referenced by Vite.
So let’s create that .env file and add the below code:
VITE_SHOW_NEWS=trueIf you’re familiar with environment variables then this will be nothing new to you. the preceding VITE is just the syntax Vite requires to expose to the frontend, if you’re using a different tooling library then you may need to follow their documentation on environment variables.
Now we can import the variables in our code. Like this:
import.meta.env.VITE_SHOW_NEWSHowever I prefer to assign the environment variable to a shorter variable like this:
const showNews: string = import.meta.env.VITE_SHOW_NEWS;This is one of those moments TypeScript is your friend, notice how our environment variable is of type string and not boolean. This is because even though our variable’s value is true or false, it’s imported as a string. Therefore you should treat it as such!
Let’s now reference it in our App.tsx.
    <>
      { showNews === "true" ?
      <Dialog
        toggleDialog={toggleDialog}
        requestDialogClose={requestDialogClose}
        requestDialogOpen={requestDialogOpen}
        isDialogOpen={isDialogOpen} />
        : null }
      <h1>React Feature Toggle</h1>
      <button
        onClick={() => requestDialogOpen()}
        disabled={!(showNews === "true")}>
        Open News Pop-up
      </button>
    </>
That’s it! You’ve created a feature toggle. With this you can flip VITE_SHOW_NEWS from true to false and the dialog will no longer be visible in the application.

It’s pretty straight forward because React helps you organize your code as components but once you begin organizing your features this way too you can quickly see how powerful this pattern can be!
Taking things a step further
Now I’ll be the first to admit environment variables alone aren’t full on feature flags or feature toggles however the pattern holds up even with external libraries. I’ve created an advanced example in the same repo that is a .NET web api that uses the Microsoft.FeatureManagement nuget package. From there the logic is largely the same, except now the React app calls an API to check for the feature flag.
You can go for broke and use Azure Configuration Manager and have a UI toggle Azure Administrators can use!
The benefits here are great. Firstly you now don’t have to restart your React app just to change the configuration since env variables are only assigned at application build time. Secondly you can pair your .NET web app with Azure Configuration manager to do some pretty fancy feature management, like A/B testing, conditionals, filters, and staged roll outs.
Thanks so much for sticking to the end.
Until next time nerds <3